|
Buy Trezor Model T In this article, we will discuss buying a Trezor Model T that would help you to buy. Apart from that, we will share some features of this wallet. What is Trezor Model T? You can optimistically shop Bitcoin, passwords, tokens, and different keys with the Trezor Model T hardware wallet. Designed to protect your digital assets, you have never been more independent. Steps to buy Trezor Model T Here are a few simple steps that you have to follow to buy a Trezor hardware wallet. Step1:- First you need to check the authentic website where you can buy a Trezor wallet. Step2:- Once you check the website, then check some reviews of Trezor wallet so, that you’ll actually understand about Trezor wallet Model T. Step3:- Now you have simply clicked on the Buy button and added the payment method that you want to choose. Step4:- Your transaction has been done and you’ve bought Buy Trezor wallet Model T 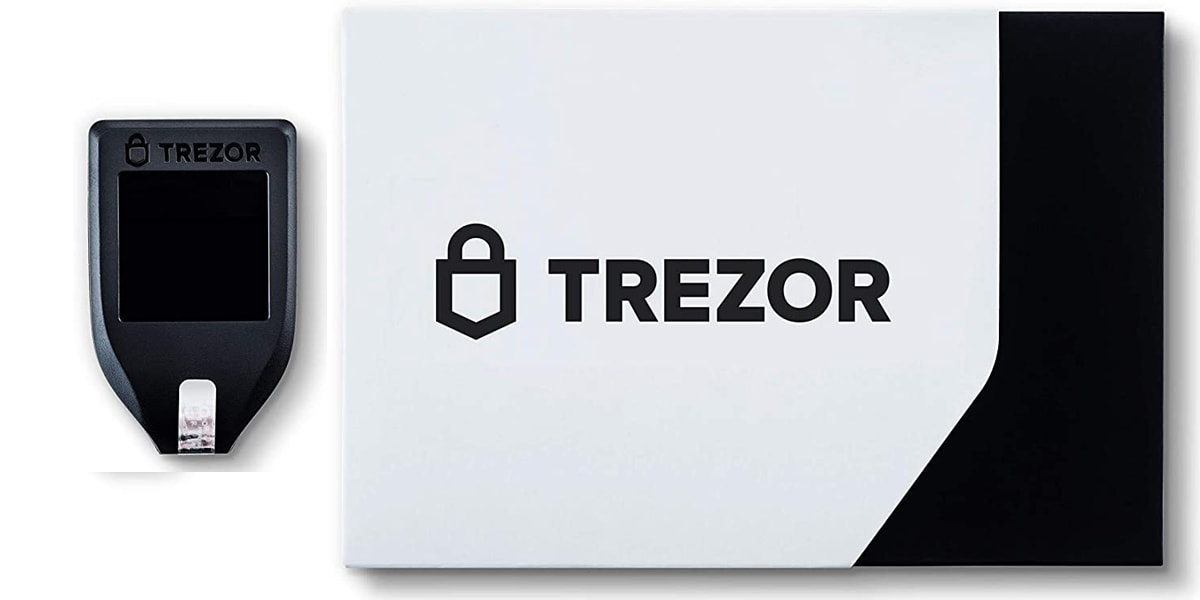 Features of Trezor Model T
Usability of Trezor Model T There is something nice about Trezor Model T - it is lightweight, portable, and durable. A touchscreen interface makes it both easier to navigate and more visually appealing than Trezor One. Trezor Model T was designed as a user-friendly device and it works in conjunction with Trezor Suite, which can be downloaded here. By incorporating a software stack, the device can be accessed more easily, while at the same time, your private keys are protected from being exposed online. Is Trezor Model T a safe option? Keeping your private keys offline makes it harder for them to be compromised since they are stored and isolated on the device. Wallet transactions must be confirmed by pressing the physical buttons on the hardware wallet before they can be completed. A PIN code must be entered to access the hardware wallet, and all changes must be confirmed by pressing the buttons. Trezor Model T also allows you to create passphrases in addition to PINs. The extra passphrase allows you to create a separate account, where you can store whatever assets you want. This means you can protect your accounts and assets even if your PIN is compromised. In the end, the Trezor Model T makes use of a 24-phrase recuperation word in place of the same old 12-phrase word discovered in software program wallets. However, it does have the choice of the use of the most effective 12-phrase word. As a result, your device, and therefore your assets, are much more difficult to compromise. Conclusion As we’ve explained about Trezor and its features. In addition, we’ve also shared that is it safe or not which would deeply help you to understand Trezor Model T. Hope you like this simple and short information.
0 Comments
 Are you looking to receive USDT (Tether) on Coinbase but unsure how to go about it? Don’t worry, you’re not alone! In this guide, we’ll walk you through the process step-by-step, so you can easily receive USDT on your Coinbase account.
Also Read For: How to Transfer USDT from SafePal to Coinbase Step 1: Sign in to Your Coinbase Account First things first, log in to your Coinbase account using your username and password. If you don’t have an account yet, you’ll need to sign up for one. Step 2: Navigate to the Accounts Tab Once you’re logged in, you’ll be on the dashboard. Look for the “Accounts” tab located on the top menu and click on it. This will take you to a page where you can see all your cryptocurrency wallets. Step 3: Select Your USDT Wallet Scroll down the page until you find the USDT wallet. Click on it to open your USDT wallet. Step 4: Click on the "Receive" Button Inside your USDT wallet, you’ll see several options such as “Send,” “Receive,” and “Buy/Sell.” Click on the “Receive” button. This will generate a unique USDT address for your Coinbase account. Step 5: Copy Your USDT Address Once you click on “Receive,” you’ll see your unique USDT address displayed on the screen. Click on the “Copy Address” button to copy the address to your clipboard. Step 6: Share Your USDT Address Now that you’ve copied your USDT address, you can share it with the person or platform that will be sending you USDT. Make sure to double-check the address to ensure accuracy. Step 7: Wait for the Transfer Once you’ve shared your USDT address, all that’s left to do is wait for the transfer to be completed. Depending on the sender’s platform and network congestion, it may take some time for the USDT to appear in your Coinbase account. Step 8: Confirm the Transfer Once the transfer is complete, you should receive a notification from Coinbase informing you that USDT has been successfully deposited into your account. You can also check your USDT wallet balance to confirm the transfer. That’s it! You’ve successfully received USDT on your Coinbase account. Remember to always double-check the accuracy of the address when receiving cryptocurrencies to avoid any potential mistakes. Happy trading! We hope this guide has been helpful. If you have any further questions or need assistance, feel free to reach out to Safepal customer support for assistance. Happy trading! |
AuthorGet your queries resolved by Customer Support Advisor. Our customer executives available 24*7 to solve your query ASAP by call and live chat support. Archives
January 2024
Categories |
 RSS Feed
